
Let's Explore Amazon EKS Auto Mode
AWS Hero 📍 🇳🇿🥝 | Enabling DevOps 👨💻 | ☁️ AWS Fanboy
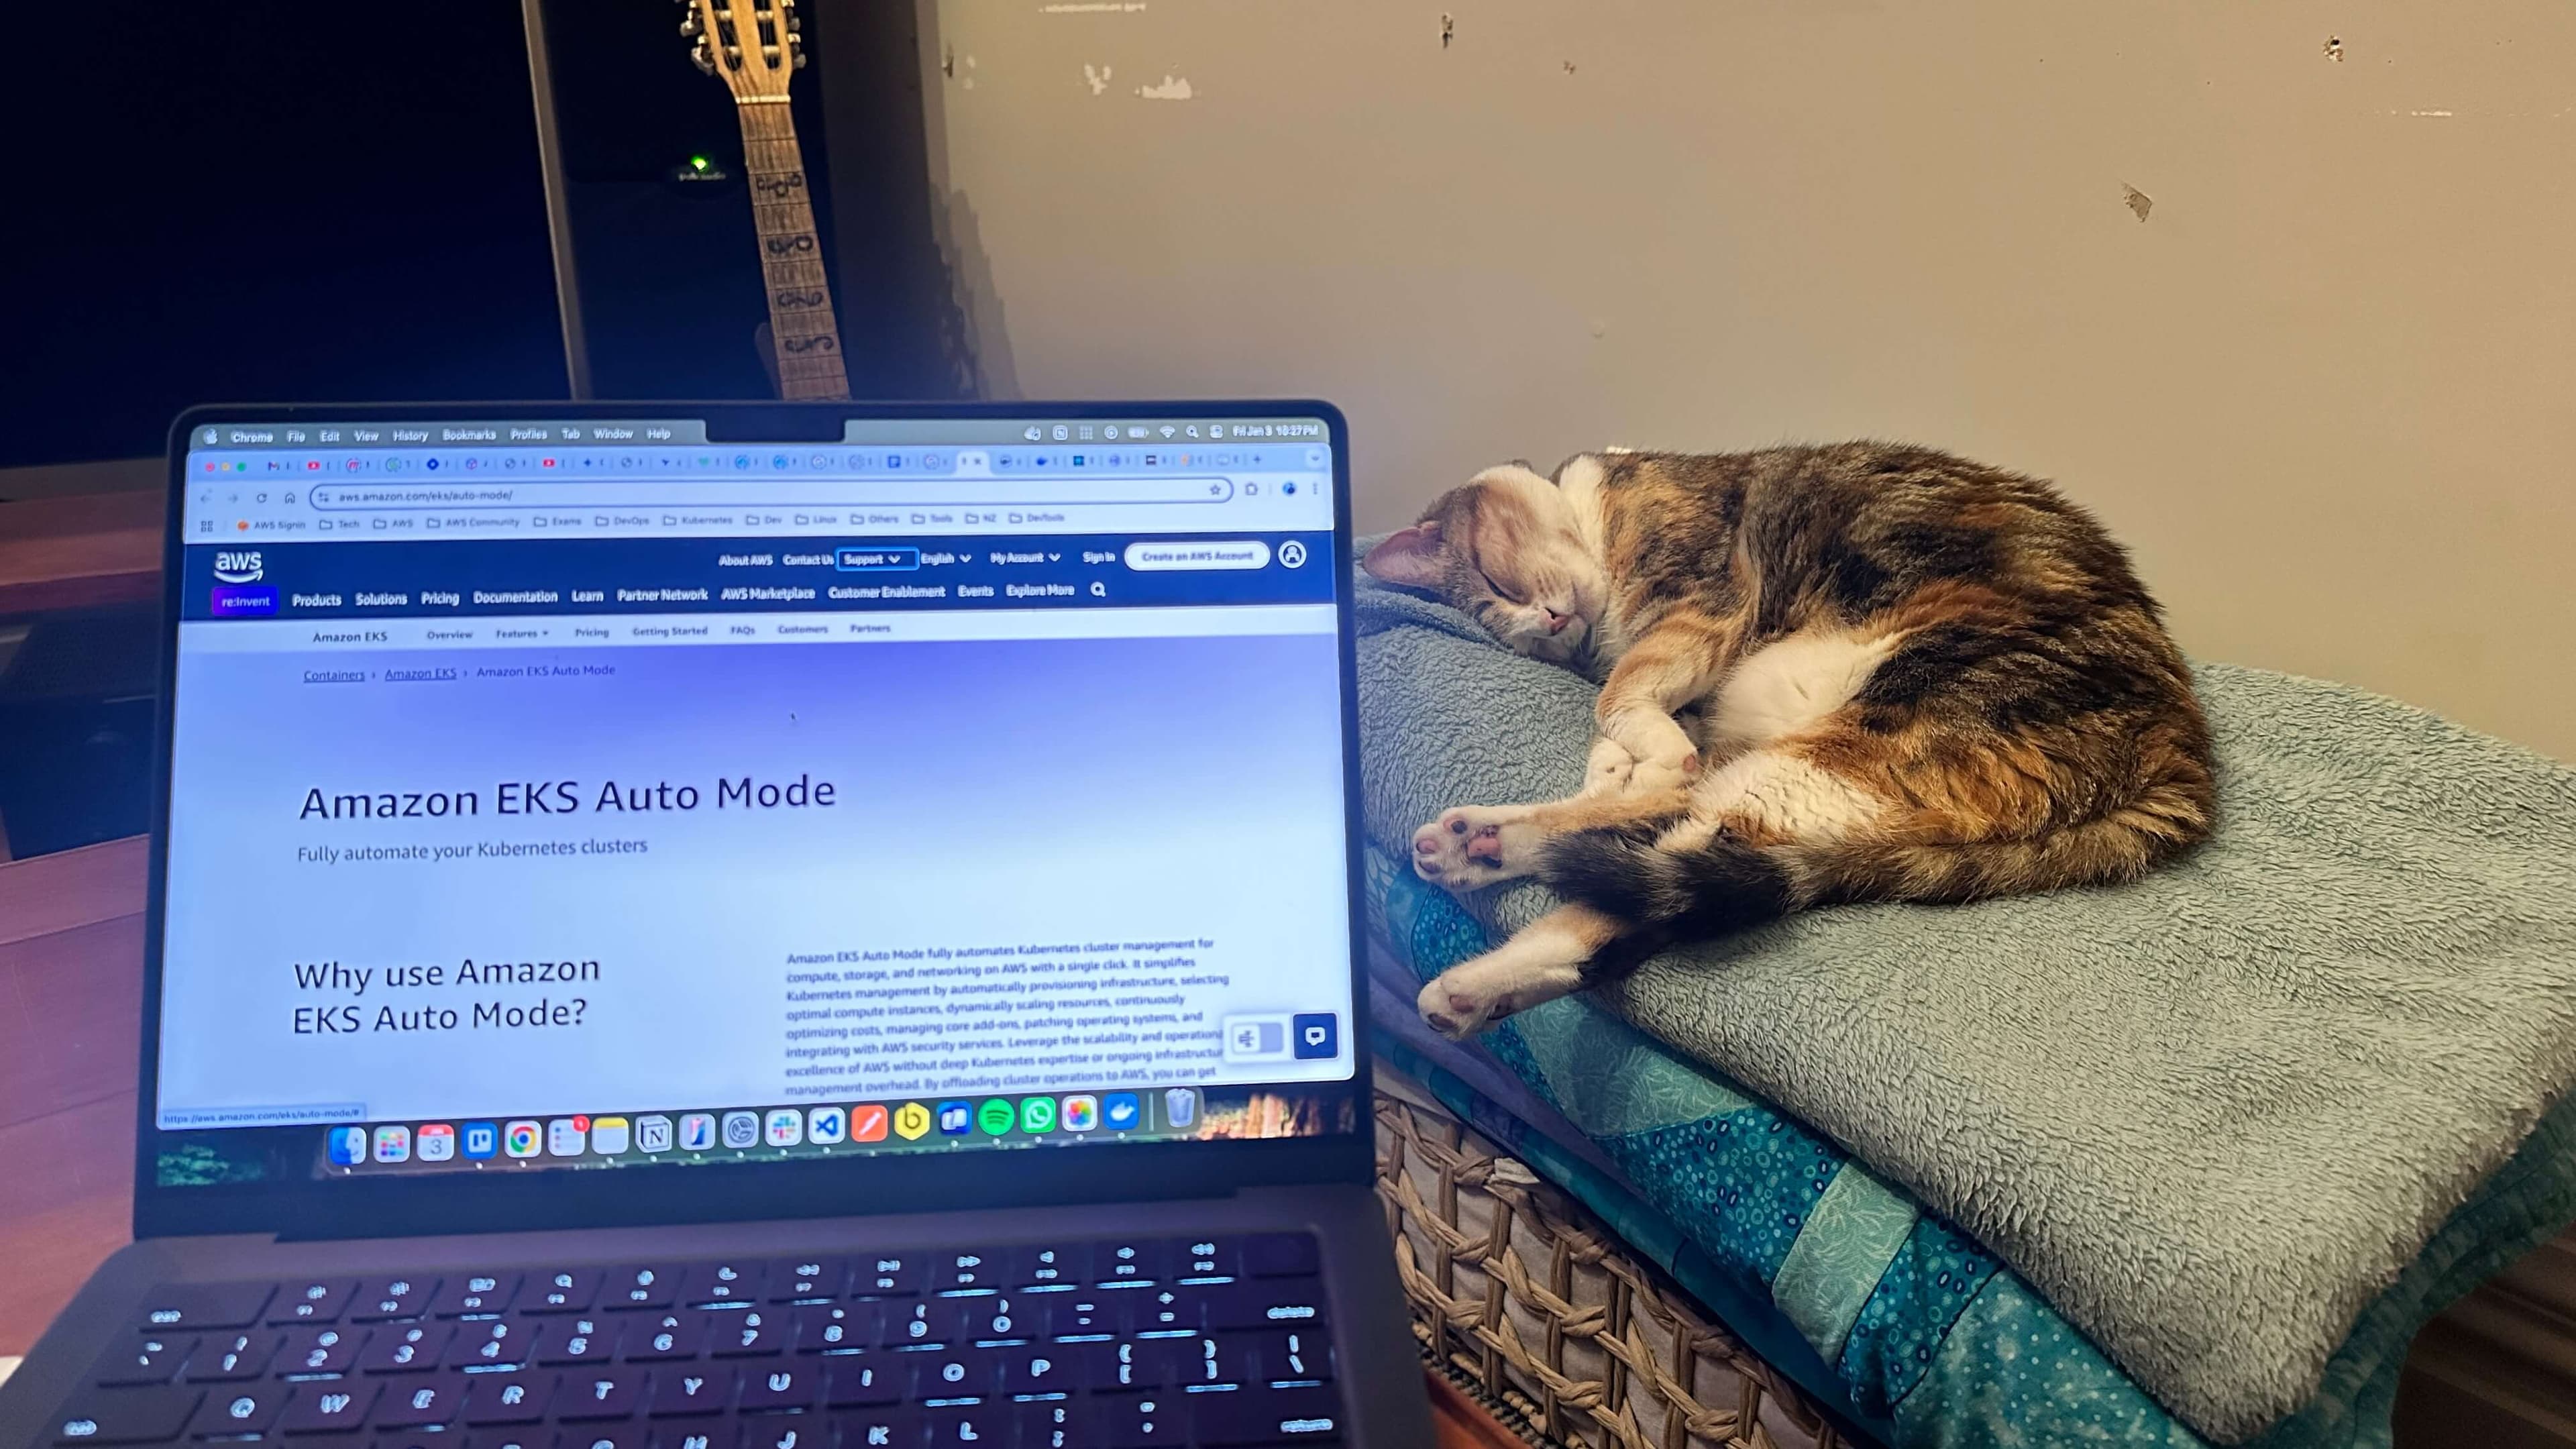
During AWS re:Invent 2024, one of my favorite announcements was Amazon EKS Auto Mode. As a huge AWSFanBoy, I was very impressed and decided to try out.
In this blog post, I explain what AWS offers in EKS, the challenges of managing an EKS cluster, and what is Amazon EKS Auto Mode is. I aim to keep it simple for easy understanding. Don't worry, I've included a link to a demo that Jones Zachariah Noel N and I did on our podcast The Zacs' Show Talking AWS. I've also added a video showing a cluster upgrade with EKS Auto Mode.
Before we dive into EKS Auto Mode, let's quickly review the previous EKS offerings.
EKS Cluster Architecture and Responsibility Model without EKS Auto Mode
Disclaimer: I have included some screenshots from the official re:Invent slide deck, which is publicly available here - Link


AWS manages the control plane, etcd instances.
Customers have to manage add-ons, worker nodes, and other services like load balancers for ingress.
Without the core add-ons, we cannot run any workloads in a newly created EKS cluster.
Customers are responsible for node patching, node scaling, add-on updates and more.
Some of the challenges with managing an Amazon EKS cluster
Deploying an EKS cluster is not enough to run your workloads; you need at least these core add-ons: Kubeproxy, CoreDNS, and VPC CNI to have an application-ready cluster. Keeping these add-ons up to date and managing them also requires time and effort from engineers.
Managing compute resources is one of the biggest challenges. The most commonly used add-ons for auto-scaling nodes are Cluster Autoscaler or Karpenter. However, managing another add-on requires additional effort and time.
When you have multiple EKS clusters for internal developer teams or customers, upgrading them can be challenging. We need to ensure that core add-ons are updated along with the clusters, check for API deprecations, and more.
After upgrading the clusters, we need to gradually update the nodes and remove the old ones. Additionally, when AWS releases a new AMI for the nodes, we must ensure the clusters use nodes with the latest AMI. This is important for applying security patches as well.
What is Amazon EKS Auto Mode
Now we can create application-ready EKS clusters with essential Kubernetes capabilities. AWS handles all the complex aspects of managing your Kubernetes setup - including computing, storage, and networking.
Amazon EKS Cluster Architecture and Responsibility Model for an EKS Cluster with EKS Auto Mode


With EKS Auto Mode enabled, AWS now manages the Cluster EC2 instances and Cluster Capabilities. Compared to the previous image, it's clear that customers have fewer responsibilities. Let me explain the Cluster EC2 instances and Cluster Capabilities.
Cluster EC2 instances
In EKS Auto Mode Node autoscaling is managed by Karpenter. Karpenter is excellent for node scaling. It is not only auto-scales nodes but also finds the right and optimized node for your workload, helping to save costs. We will discuss Karpenter separately in another article. If you are not familiar with Karpenter, you can read more about it here. All the instances launched by EKS Auto Mode run Bottlerocket OS.
Cluster Capabilities
Networking
There are three essential add-ons under Networking that are managed by AWS.
Kubeproxy
CoreDNS
VPC CNI
So we no longer need to manage these add-ons. These add-ons run as systemd services on the nodes, so you won't see any of these pods running on the cluster. You'll see more in the demo later.
Listing pods in all namespaces, I don't see any of the pods running.

Load balancing
AWS manages the LB controller. For your ingress resource, you can use an ALB, and for services, you can use a NLB. You don’t have to install these controllers since AWS is managing them for you; you just need to annotate your service/ingress.
Storage
With EKS Auto Mode, the EBS CSI driver comes included, allowing us to set up EBS storage for pods that need persistent volumes.
Try it out yourself in just a few minutes.
I am using eksctl command to deploy an EKS cluster, which is really easy since it will deploy the dependancies for you cluster such as networking resource as VPC, Subnets etc.
Install eksctl - https://eksctl.io/installation/
Deploy an EKS cluster with EKS Auto Mode
eksctl create cluster --name=hogwarts --enable-auto-mode --version=1.30
Once cluster is created successfully, run the following commands
List all the pods in all namespaces -
kubectl get pods -AList all the nodes -
kubectl get nodesYou will not see any resources
Now lets check the manifest file that you are going to deploy in the
manifest.yamlfileThis manifest file will deploy
Deployment
Pod Disruption Budget
Service
IngressClass
Ingress
  ---
  apiVersion: apps/v1
  kind: Deployment
  metadata:
    name: zacs-show-deployment
    labels:
      app: zacs
  spec:
    replicas: 36
    selector:
      matchLabels:
        app: zacs
    template:
      metadata:
        labels:
          app: zacs
      spec:
        containers:
        - name: zacs
          image: awsfanboy/doggo-app
          ports:
          - containerPort: 80
  ---
  apiVersion: policy/v1
  kind: PodDisruptionBudget
  metadata:
    name: zacs-pdb
  spec:
    minAvailable: 80%
    selector:
      matchLabels:
        app: zacs
  ---
  apiVersion: v1
  kind: Service
  metadata:
    name: zacs-show-service
  spec:
    selector:
      app: zacs
    ports:
      - protocol: TCP
        port: 80
        targetPort: 80
    type: NodePort
  ---
  apiVersion: networking.k8s.io/v1
  kind: IngressClass
  metadata:
    name: eks-auto-alb
  spec:
    controller: eks.amazonaws.com/alb
  ---
  apiVersion: networking.k8s.io/v1
  kind: Ingress
  metadata:
    name: zacs-ingress
    annotations:
      alb.ingress.kubernetes.io/target-type: ip
      alb.ingress.kubernetes.io/scheme: internet-facing
  spec:
    ingressClassName: eks-auto-alb
    rules:
      - http:
          paths:
            - path: /
              pathType: Prefix
              backend:
                service:
                  name: zacs-show-service
                  port:
                    number: 80
Deploy it by running
kubectl apply -f manifest.yaml.Let's list all the resources by running
kubectl get all.Check the
nodesandnodeclaims-kubectl get nodes,kubectl get nodeclaims
Karpenter launched a new node for my workload.
AWS manages the compute, as I mentioned earlier. You can find the API resources by running the command
kubectl api-resources | grep karpenter.Get the ingress URL by running
kubectl get ingress.Allow some time for the DNS propagation and the creation of the ALB, then access the ALB URL in your browser.
Voila! You can see my doggo app is running.

See, that's it. We didn't install any add-ons, and within a few minutes, you have a cluster ready to run your application.
To cleanup run
eksctl delete cluster --name=hogwarts


Cluster Upgrades
I have included a demo where I show an EKS cluster with Kubernetes version 1.30 and upgrade it to version 1.31.
Here is the podcast where Jones and myself did a deep dive into Amazon EKS Auto Mode on our show, "The Zacs' Show Talking AWS"
Conclusion
Amazon EKS Auto Mode reduces operational tasks like managing core add-ons, patching nodes, dynamic scaling, and cluster upgrades. You can create a cluster anytime, and if you want to run tests, EKS Auto Mode helps by setting up an application-ready cluster in just a few minutes. Currently, only the main core add-ons are included by default, but I really wish, more add-ons will be available in the future. However, you can still install and configure other add-ons on an EKS Auto Mode cluster.
Whats next ?
I will publish another article on how to migrate an existing EKS cluster to an EKS Auto Mode cluster.